 |
| $15 at Walmart. 26" * 3.14 / 4.5" /shoe = Nine pairs of shoes. The lugged area is 2.25" across. |
 |
| The lugs in the middle are 3.0mm tall and the carcass is 3.0mm thick. Lugs on outside are 5.0mm tall at the outside edge. Cut to fit with tin snips. It cut very easily, even through the center of the lugs. |
 |
| After grinding off lugs with a coarse sanding disk but before cleaning. You can see the ink marks where I traced out the width of the patch on the right side of the frame. |
 |
| A final check on the fit. If you look closely you can see the fabric reinforcement which should help with puncture resistance. The only step that is not illustrated is that I scrubbed the inside of the tire with window cleaner and a Scotchbrite pad to remove any mold release that might be present. |
 |
| I used E6000 adhesive. The poly bag is to prevent the shoe from being permanently glued to my clamp (the cinder block). I also have a piece of foam between the poly bag and the cinder block to ensure even pressure. |
 |
| The trial run is airing out in the breezeway. I won't bring it into the house until after the smell of methyl-ethyl-badstuff disappears. I would have like a little more squeeze-out at the corners as that is where peeling is likely to start. |
 |
| And I want less squeeze-out on the sides. Next time I will probable clamp the shoe right-side-up and have a foam patch on both top and bottom. That way drips will run down, onto the sole. |
I like picking up new skills and I have about a $1 into each shoe. Maybe not impressive when talking about a $20 pair of shoes but I wish I knew how to do this when Mrs ERJ retired a pair of Uggs she loved because the soles were worn smooth. And I know that Mrs ERJ prefers I do my learning on my cheap shoes rather than her nicer things.
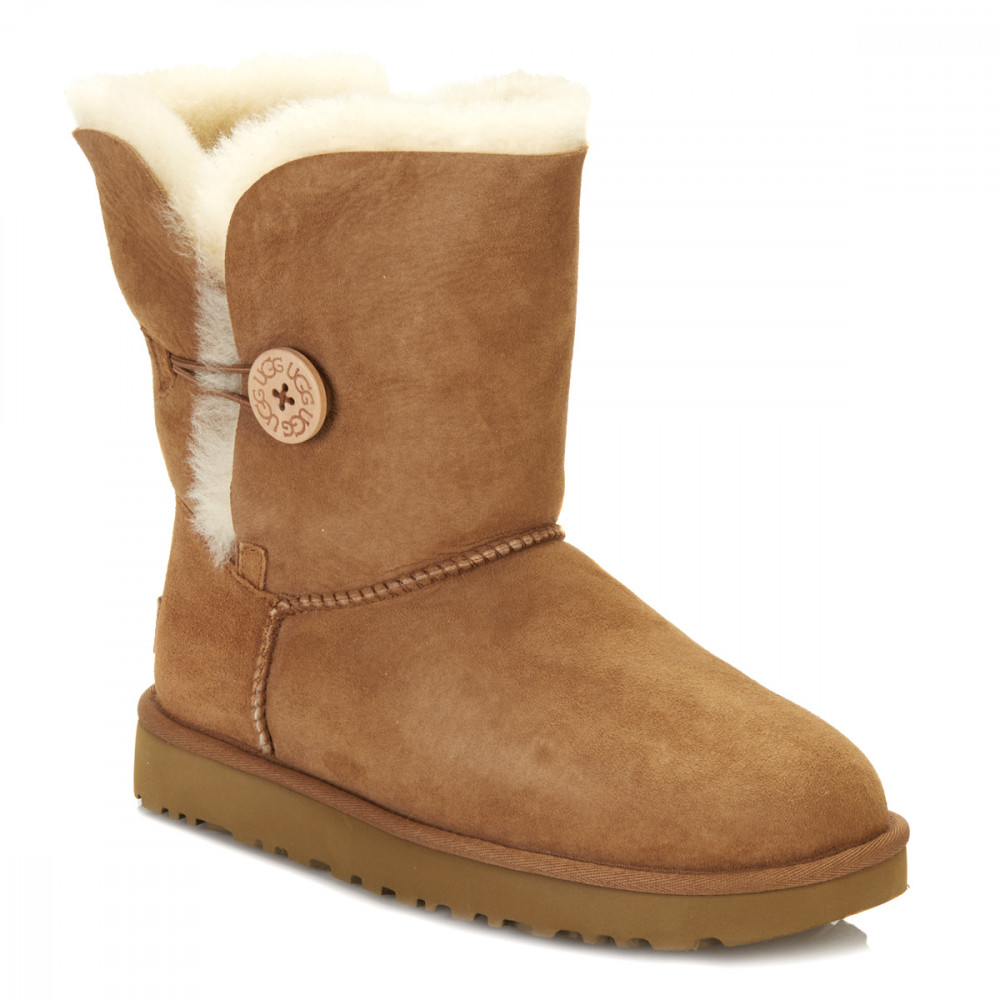 |
| These are Ugg Bailey Button II boots. They retail for about $150. They don't start with much tread. |
The other thing is that shoes are where the rubber hits the road. Sure, it is easy to pick up another cheap pair but that presupposes China will keep sending us cheap merchandise. I want to know how to fix stuff "better" than stuffing cardboard inside of them.
Eaton Rapids Joe blog...where we make it fun to save soles.
Why E6000 adhesive? Just curious what sets it apart.
ReplyDeleteA.) It is what I had on-hand
DeleteB.) Sources on the internet claim it is nearly identical to Shoe-goo, perhaps slightly thinner and a slightly longer working time
You can put some cheap masking tape on the sides where the excess glue will come out. An old fiber-glasser trick. After curing, toss it.
ReplyDeleteThank-you, sir. Will comply.
DeleteInteresting. I look forward to seeing how this turns out; if it does well I may try it also. Is there are reason you only patched that part of the sole? I would think the shoe would be more comfortable with a full length new sole.
ReplyDeleteI only patched that part of the sole because that was the only part that showed wear. Incidentally, that worn portion is the region beneath the balls of my feet.
DeleteRegarding comfort, I have the option of using the disk sander to "feather" the height of the lugs to smooth the transition.
The fact that the usable portion of the tire is only 2.25" wide is limiting.
Very cool project. Reminds me of dép lốp sandals. I'm very curious to see how the shoes hold up. Please post a follow up.
ReplyDeleteMerry Christmas.
Well,
ReplyDeleteI recently purchased, for 15 dollars, an old, old tire regrooving tool...heats up and "cuts" new tread into whatever you apply it to. Just used it on an old pair of Doc Martins that had plenty of sole, but no tread and were dangerous to use on wet surfaces...PERFECT! Took only about five minutes for both soles.
On the issue of cleaning up the mold release. I go through a lot of $2 per can Walmart carb clean as a strong solvent in the shop for a lot of stuff. It will wreck paint and dissolve some plastic. Spray it liberally on the tire's inside, as well as the patch area on the shoe. Do not let it go anywhere else on the shoe. Several times should do the trick. As an ex-painter/metal man in a body shop, the trick is to float the contaminant and remove it with a clean cloth. The carb clean could also soften the rubber on both pieces promoting adhesion, but find another adhesive (don't know what though).
ReplyDelete