 |
| A common one gallon milk jug. Click any picture to enbiggen. |
 |
| I am right handed. Start here. Stiff set-ups are safe set-ups. A utility knife or box cutter is safer and easier to use. Plunge blade into wall. |
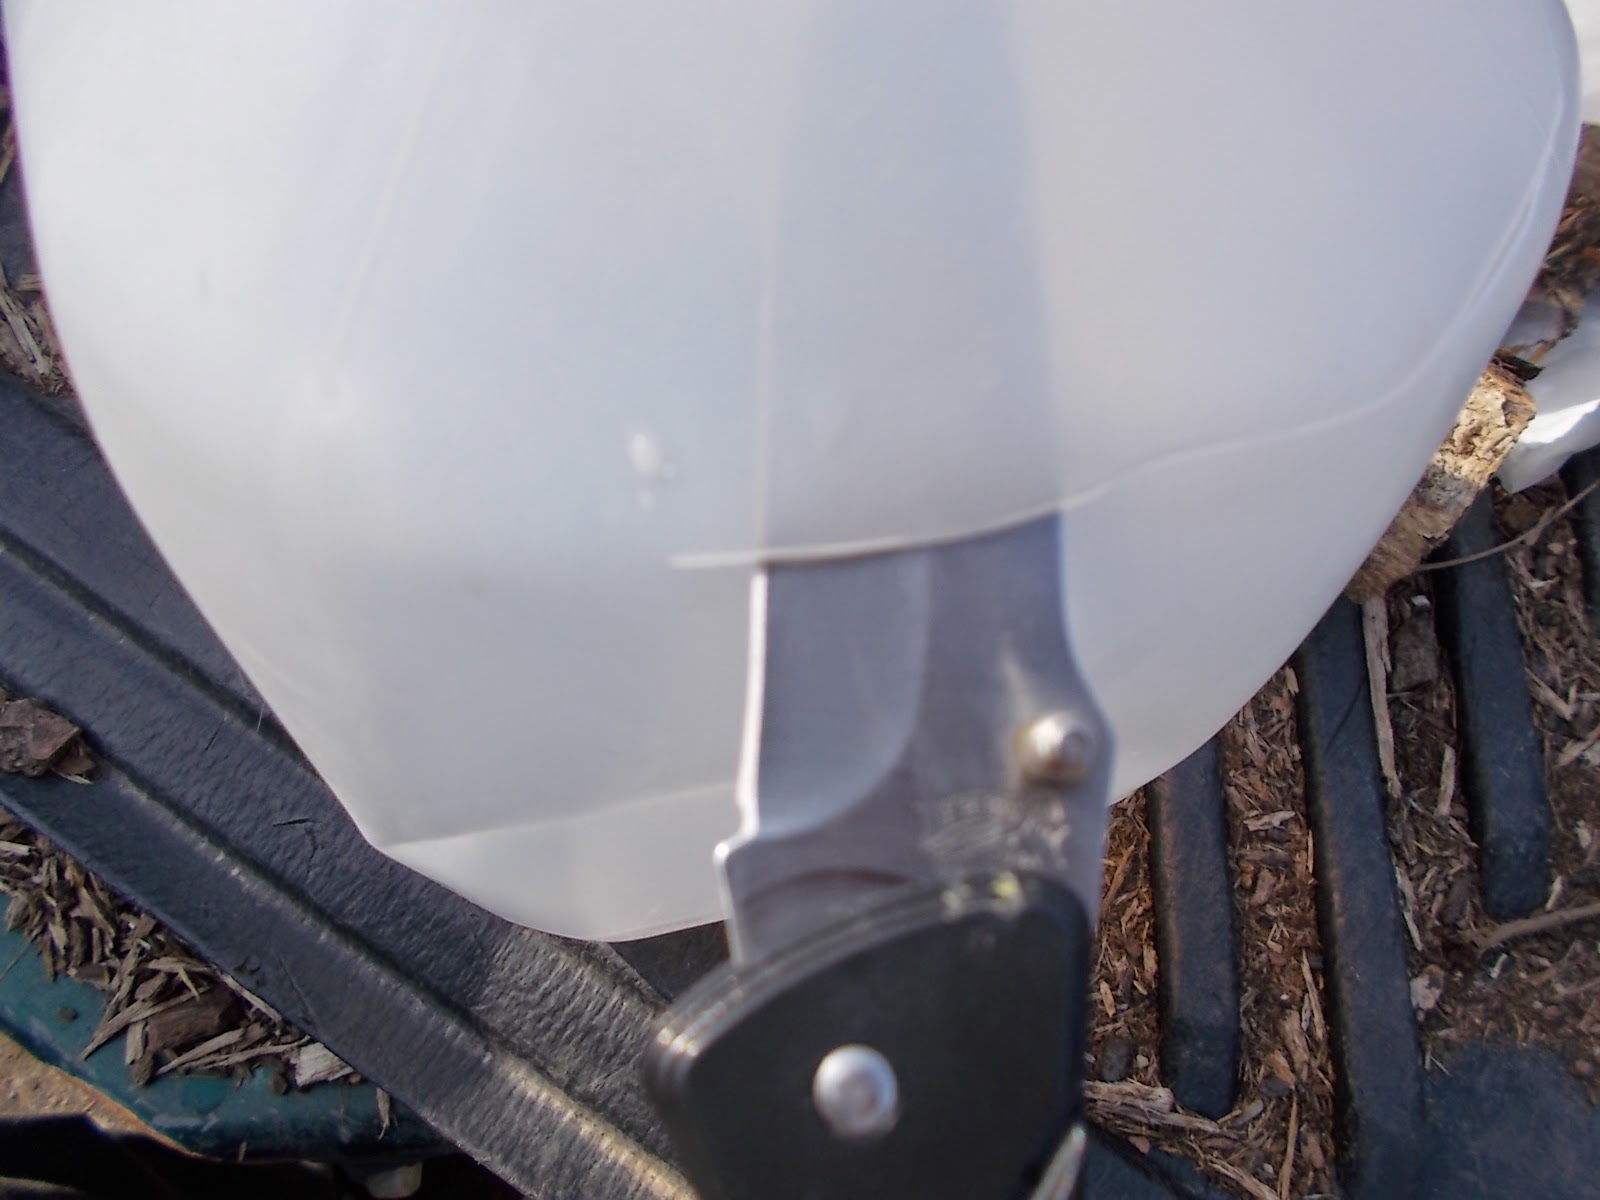 |
| Progress around the top. Tipping the blade so it is NOT square to the work will reduce the effort required. If "square" is 90 degrees, than somewhere between 45 degrees and 60 degrees is probably optimum. Tipping blade reduces wedging effect. |
 |
| Things get floppy when you get close to the starting-finish point. Be careful. |
 |
| Big handful of wood shavings in the bottom. |
 |
| Fill remainder with a good quality of potting soil. I used Miracle-Gro but there are many good brands available. |
 |
| My package of elderberry cuttings. |
 |
| Close up of cuttings. I use Lon Rombough's Method One for starting small quantities of cuttings. |
 |
| Notice the swollen lenticles. They are not pushing roots but they are close. |
 |
| The cuttings stuck in the pot. The last step is to ensure they are labeled. You may be absolutely sure you will remember what you planted but I guarantee you will forget something. These are a cultivar named Sampo |
No comments:
Post a Comment
Readers who are willing to comment make this a better blog. Civil dialog is a valuable thing.